Custom QR Code Generator: Increase Survey Responses Easily
Creating a custom QR Code for surveys is easy with Scanova. Below please find the instructions on how to step by step, use a custom qr code generator with one of the world’s leading QR Code providers.
For a FREE TRIAL to a Custom QR code generator –
For a Bulk QR Code Generator –
For a Dynamic QR Code Generator – learn more on all three by going here.
You may want this if you are a marketing agency and have a client who wants to track responses.
Or it could be you are a business dealing with the public on masse and want a reliable and easy way to track survey responses.
Even a local government agency dealing with thousands of people in your community and seeking a way of getting feedback simply or easily? Well, if these above are your motivators, please read and listen to why Scanova is surely one of your best options for a custom QR Code Generator, that you can even start with a free trial.
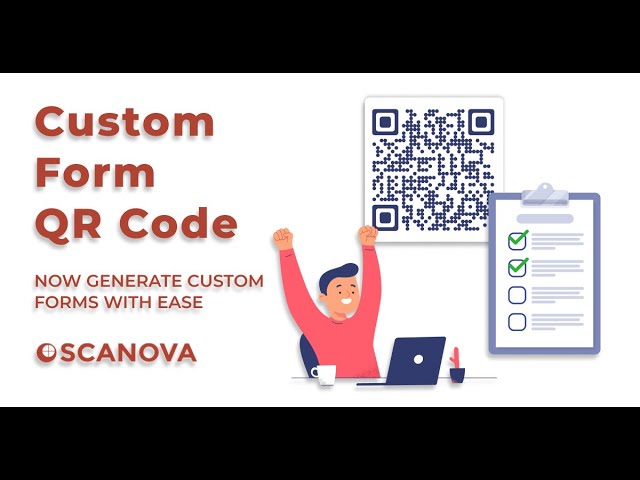
You want to create a survey QR Code? It could be to do market research on a product, service, or process.
It’s a great advantage to just send people straight to the survey form. This QR Code, when scanned by the respondents or participants, will redirect them to fill out the survey form without having to type the form link manually.
00:00 – Introduction
00:34 – Detailed Step to create a Custom Form QR Code
#scanova #customformqrcode #surveyqrcode #qrcode #bestqrcodegenerator
You want to create a survey qr code?
It could be to do market research on a Product service or process. This qr code when scanned by the respondents or participants will redirect them to fill out the survey form without having to type the form link manually. How good is that!
So you’re looking for ways to create a Qr code for the survey and with scanova Qr code generator you can create both the qr code and the survey form here’s how to do it.
Go to Scanova’s website and sign up for a free trial the link is right here.
On the page that loads after login Select custom page qr code Now enter the additional content that You’d like the end users to see when the Form loads you can customize the landing Page by adding a description background colors, images, web links, buttons and Files.
On the same page select the custom form option from the add section on top.
Here you’ll be able to design the survey Form you can start by adding a form description. Then you can add a question in the given block. Each question can have up to 200 characters. You can also add a question or description. Select the answer type and choose if the response would be required or not.
To add additional questions, you can click on the add question block option. Once you add all the questions you can design the submit button here. You can add the button text color border color etc. Then you’ll also see the form formatting option. Using it you can format all sections of the form in one go. Note that the formatting would be applicable on all the question blocks and the form description a clear formatting button will also be there to help you remove all the formatting.
You’ll also see the add form expiry option using it you can add the expiration date time and time zone for the form. Once you’re done designing the form and the landing page click on continue on the page that loads. Name your qr code and proceed ahead.
Now you will see details such as qr code name category and short url on the screen and on the right you’ll see the qr code image with the edit design button. You can use it if you want to add design to the qr code and since your use case is promotional, we suggest that you design the qr code. It will help you maximize the scans. The first option you’ll see is the custom logo design here you can add colors patterns and brand logo to the qr code.
The second one is custom background design. It helps you place the qr code on a background image once you’ve finalized on design or no design. Go ahead to update changes and download your qr code.
You’ll then have to specify the size and format of qr code image to be downloaded. Once you do it click export and your qr code will be downloaded. You can test scan the qr code and put it on your promotional creatives easily.
That’s it – you now know how to create a survey qr Code since a qr code makes the user Journey better the response rate for Your campaign will increase.
Now to see the survey responses you can follow these steps:
Log in to your Scanova account – go here to sign up (if you haven’t already) and go to my qr code section. Click the view edit icon against the qr code you want to see the responses for. On the page that loads scroll down to the download data section and click on generate the data on.
Responses will then be generated and sent to the registered email; you can download it in csv format and see the responses. That’s it you now know how to create a survey qr code Note that in case you’re using a Different tool to create your survey form such as google forms or Survey Monkey you can always get the form link and create a website url qr code instead.
Happy QR Code making.
Brian @ Business Gizmo.